There’s a blue heron rookery in the Ibis pond. There’s also an egret one, but well, these are from the blue herons.
It was feeding time on one nest, and dad was doing the honors.
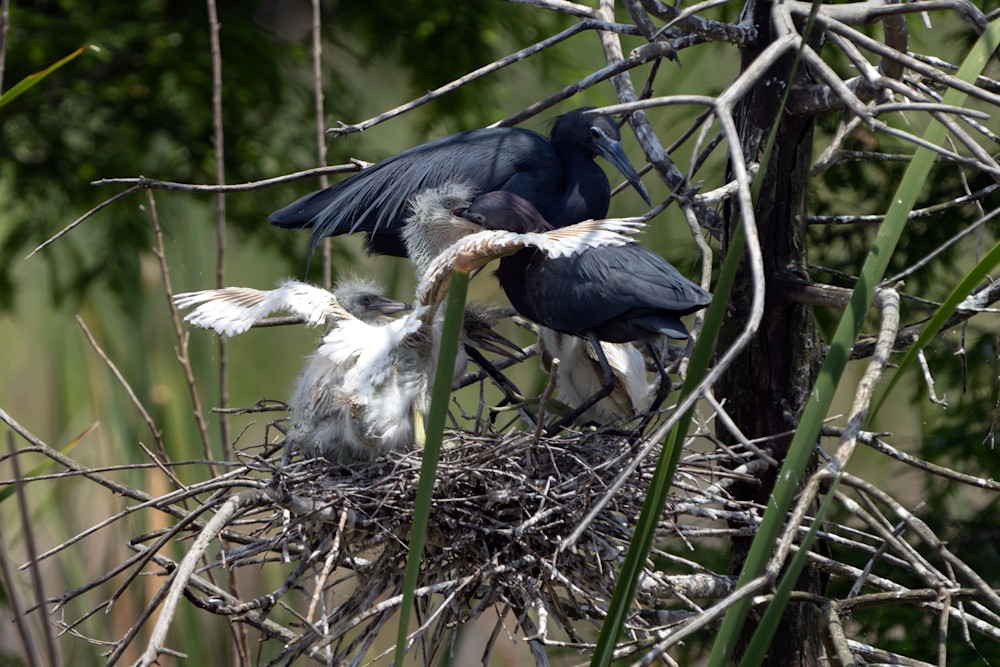
Every last bit.
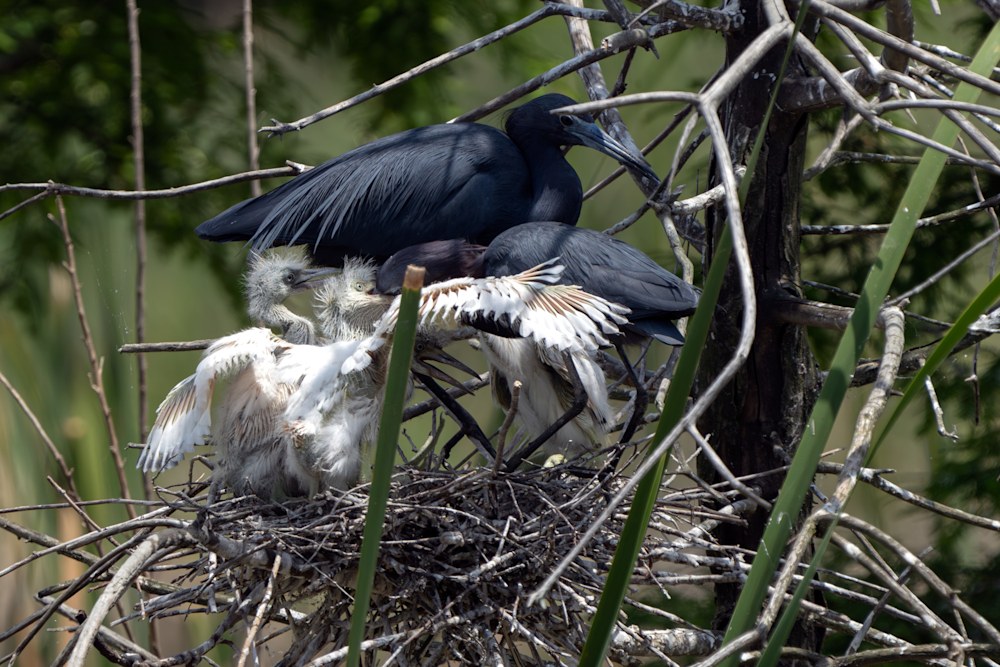
All done:
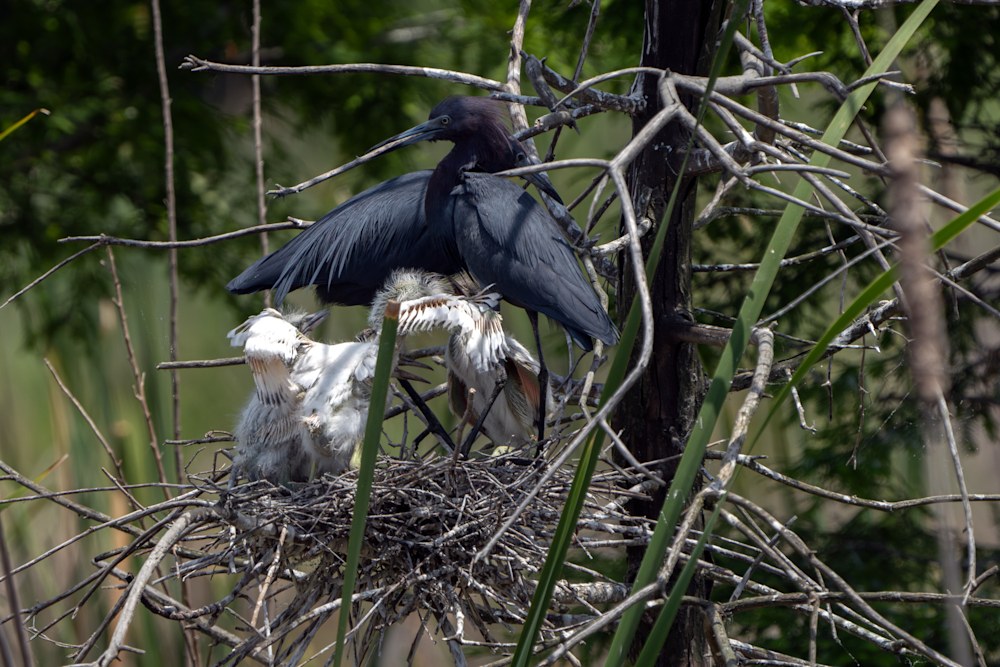 More, Now!
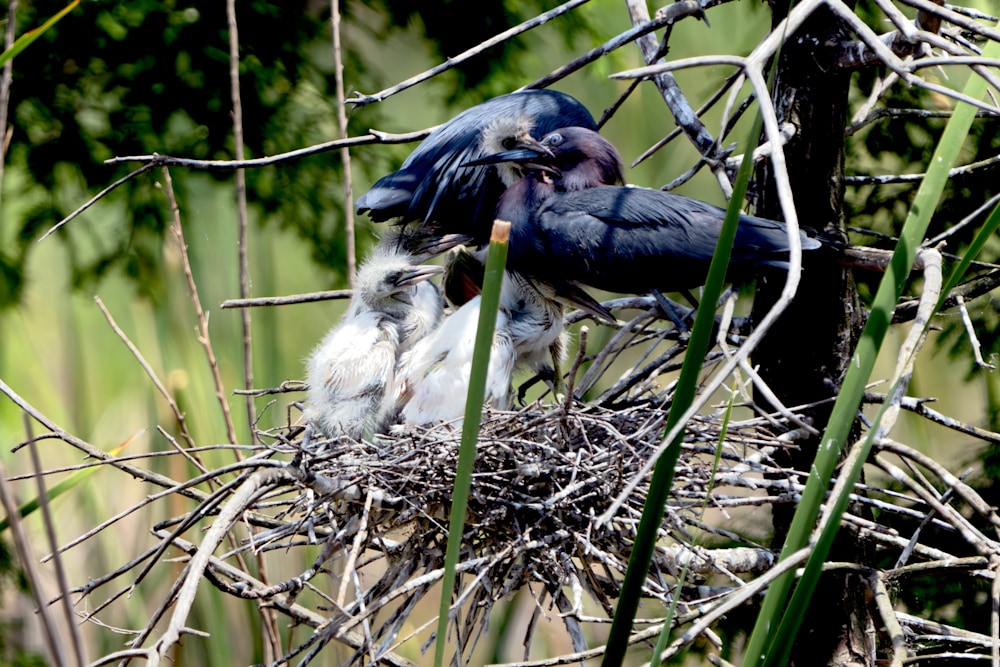
There’s a blue heron rookery in the Ibis pond. There’s also an egret one, but well, these are from the blue herons.
It was feeding time on one nest, and dad was doing the honors.
Every last bit.
All done:
More, Now!
| How I go from a raw image to a photograph in 42 easy steps. There’s a neat trick in photoshop (and gimp) that makes it much easier to adjust photograph intensity and get the image you want. Normally, you would select a color range or a subject, possibly adjust the selection and then use image tools to adjust the image bit by bit to get what you want. This works well when there isn’t much to change, but it’s very hard to backtrack and readjust things because the selection will change after you’ve changed the image. It’s surprisingly easy to go off the deep end and have to start over, again. Here’s an example I just put up on our website. The original is below: |
 |
| It’s a bit flat. Pretty enough, but flat, and grey, and not very interesting. I divided this into four layers: sky, trees, shadow, and rocks (well everything else). Then I could adjust these independently. The sky gets darker, the trees more saturated, the rocks more intense, and the shadow lighter. Suddenly it has a bit of pop. |
 |
| I’m still not sure anyone who isn’t a geologist will really like it, but it is a much improved photograph. (I also had to remove some specks in the sky. I must remember to clean my filters more often.) Here’s another example. This one is St Catherine’s chapel in Abbotsbury UK. The original is bluh and distorted because I’m looking up at it. |
 |
| Three layers are what’s needed: the chapel, the sky, and the ground. I darkened the sky, slightly brightened the building, and adjusted the ground. Photoshop has a perspective warp and I used that to straighten the building. Because of the warp, I had to crop a bit. |
 |
| It’s a much more intense and almost frightening building now. I could probably adjust it a bit more (I wonder if a lighter building would be good), but as it is, I almost expect a spectral friar to gaze malevolently from the tower or perhaps a hapless abbot to rise from his grave at night and pursue the living. Not that any of this will happen. Abbotsbury is a delightful English village and things like that just don’t happen. For more examples please see http://www.robertharrisonfineart.com |
In the dark, dank, dismal, and pre-digital ages people would manually warp polaroid prints. I can see the attraction but it is one-off and rather unpredictable. We can do better now.
The algorithm is rather simple:
for each point in the image:
calculate the warped location of the point and put the value of the image from that point at the current location
Without much further ado
Starting from my headshot:
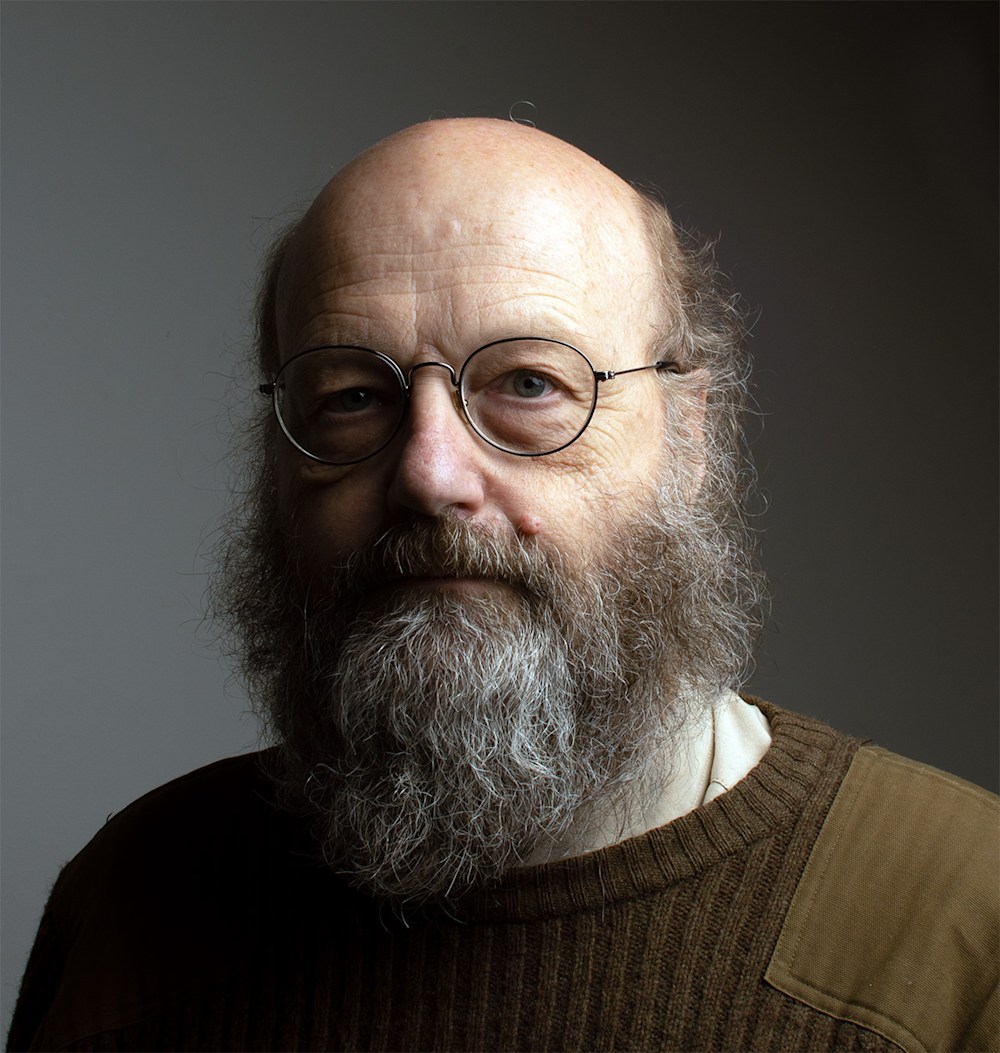
We can distort it to make me look like an alien

or a surrealist (I actually like this one a lot better):
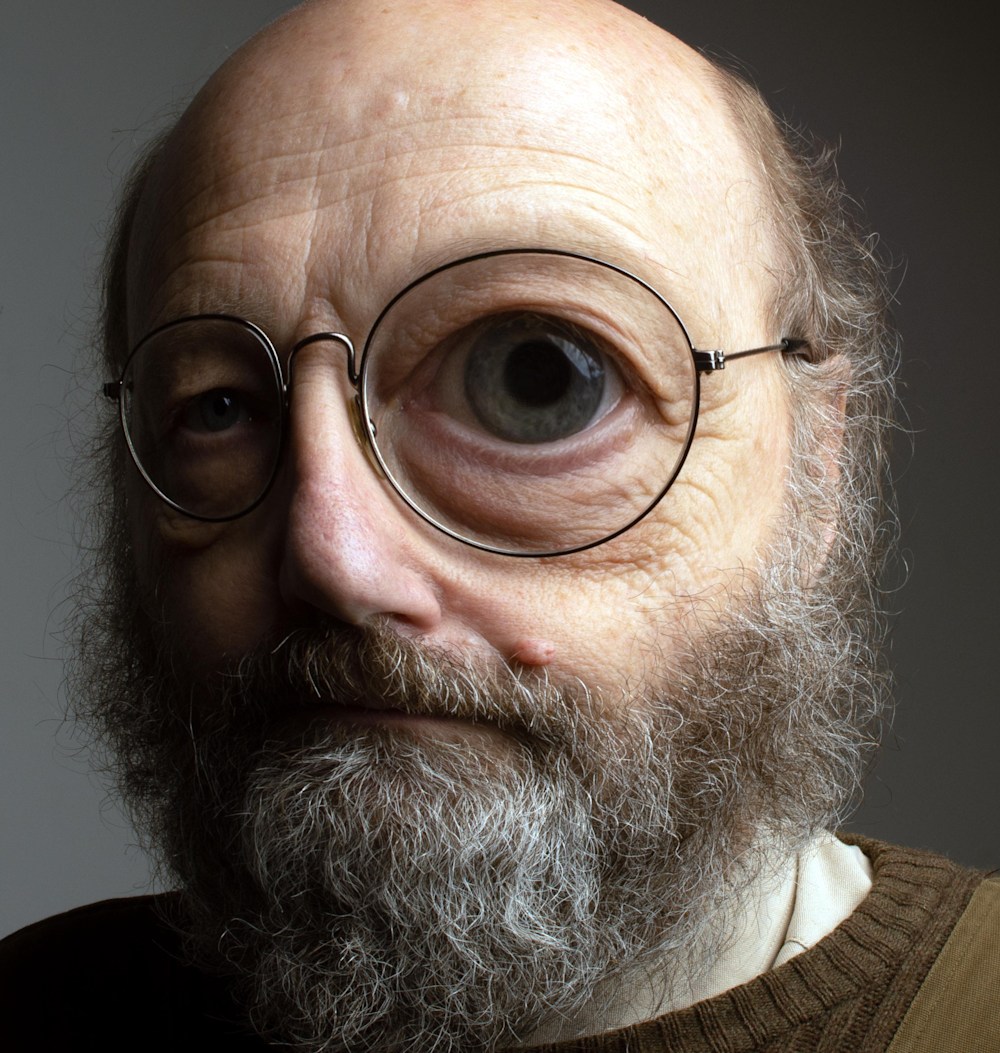
(I can’t for the life of me remember the name of the work that inspired this – it’s a pen sketch of a famous critic)
Anyway here’s the python code – which is surprisingly short.
#!/usr/bin/python3
#  (c) 2024 Treadco
#  read an image and a "warpmap" then output a distorted image.
#  meant to mimic the mechanical distortion of an SX70 polaroid image
#
#  warpmap defines the geometry of the distortion
#       height,cx,cy
#   map the coordinate to a new position and put the color of that position in the coordinates.
#
import numpy as np
import sys,os
import math
from PIL import Image
from PIL import ImageChops
from PIL import ImageColor
#from pylab import * # not used
def warper( x,y, heights, centers):
    xx = x
    yy = y
    for i in range(0, len(heights)): #yes I could use a tuple of heights,.. but this is OK
        dx = xx - centers[i][0]
        dy = yy - centers[i][1]
        dr = dx*dx + dy*dy
        dr = math.sqrt(dr)
#        if dr < 0.001:
#            continue
        x += dx*heights[i]/(dr+abs(heights[i]))
        y += dy*heights[i]/(dr+abs(heights[i]))
#was        y += dy*heights[i]/(dr+1.)
    return (x,y)
def main():
    try:
      image = Image.open(sys.argv[1])
    except IndexError:
      print("Could not open the input \nUsage warp inputfile warpmap outputname")
      sys.exit()
    try:
      pushmap = open(sys.argv[2])
    except IndexError:
      print("Could not open the input \nUsage warp inputfile warpmap outputname")
      sys.exit()
    if len( sys.argv) < 4:
        outputfilename = "output.jpg"
    else:
        outputfilename = sys.argv[3]

    height = []
    centers = []
    for line in pushmap:
        s = line.split()
        print(s)
        height.append( float(s[0]))
        centers.append( (float(s[1]), float(s[2])) )
    iarray = np.array(image.convert("RGB"))
    nx = iarray.shape[0]
    ny = iarray.shape[1]
#
#    for i in range(0,int(centers[0][0])):
#        for j in range(0,int(centers[0][1])):
#            print( str(i)+' '+str(j)+' '+str(warper(i,j, height, centers) ) )
#    sys.exit()
#
    outarray = np.array(Image.new("RGB",(ny,nx),ImageColor.getcolor("white","RGB")))
    print( outarray.shape, iarray.shape)
    for i in range(0,nx):
        for j in range(0,ny):
            dc = warper(i,j,height,centers)
            ii = int(dc[0])
            jj = int(dc[1])
            if( ii < 0 or ii >= nx):
                continue
            if( jj < 0 or jj >= ny):
                continue
            outarray[i,j] = iarray[ii,jj]
    inew = Image.fromarray( outarray)
    inew.save(outputfilename)
main()
There’s more boilerplate about opening files and syntactical sugar than lines of code to implement the algorithm. That’s rare in python.
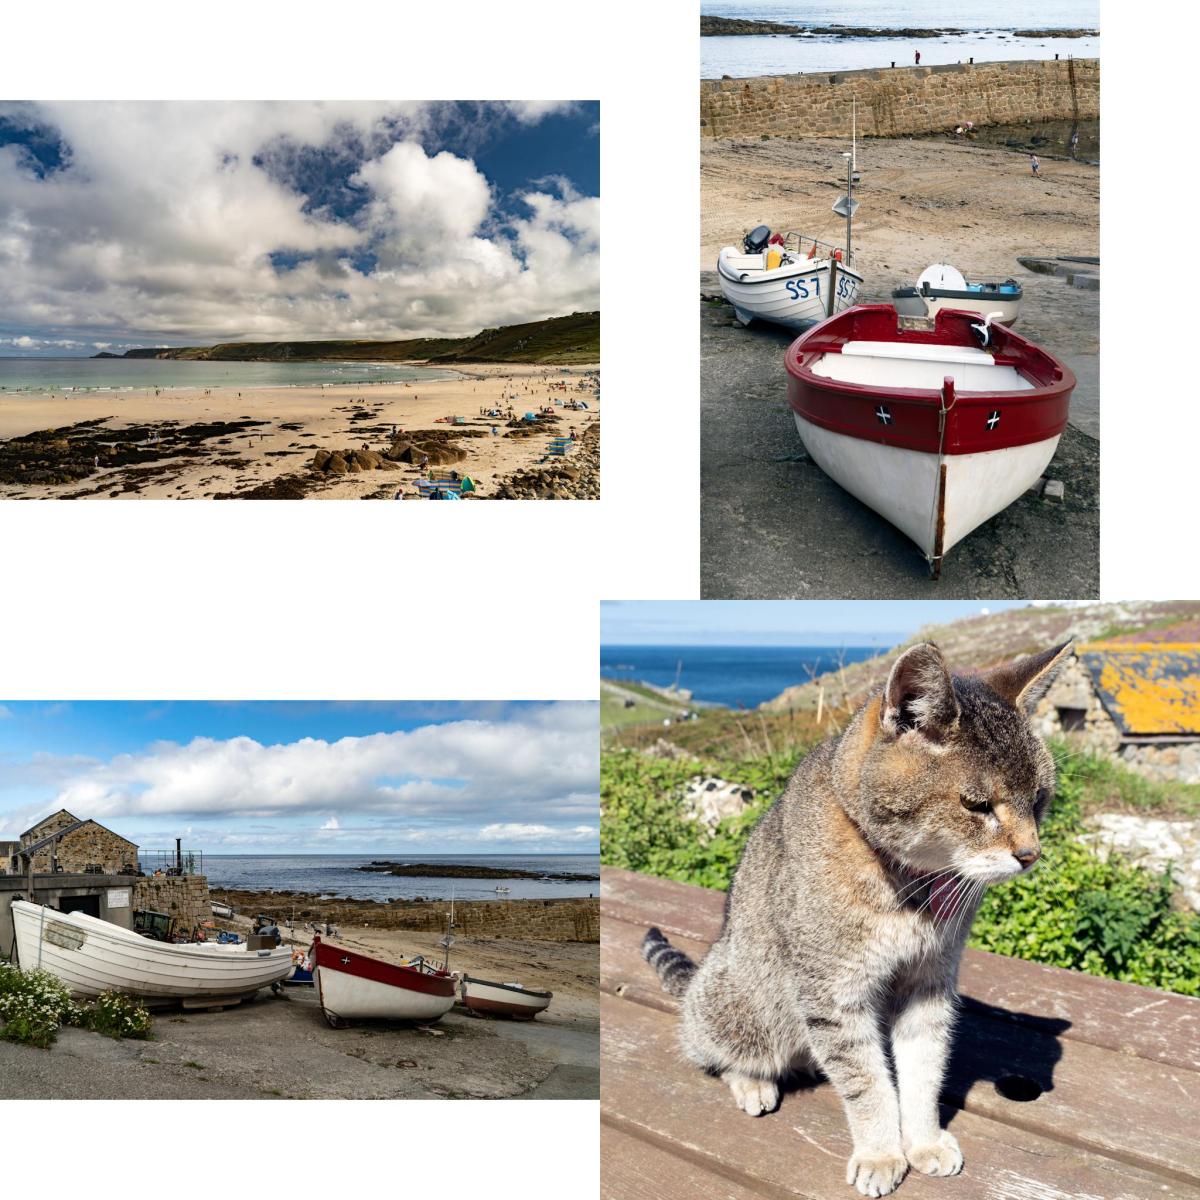
I’ve set up another simple python program to produce an image made of four others. This is a step to fancy animations. Apparently panels of four things are more eye-catching than panels of one thing. It’s even more pronounced if only one panel is animated. That’ll take OpenCV to do automatically.
For what it’s worth, if you aren’t familiar with programming note how I’ve used a function to simplify the code. Once I read the documentation for OpenCV I’ll add a function to generate each frame. This function will look like main() but without any hard-wired constants.
#!/usr/bin/python3
#
# (c) 2023 Treadco
#

import numpy as np
import sys
from PIL import Image

# return an image scaled to fit into xw,yw with background color
# defaults are for a 2048,2048 instagram image of 4 quadrants
def fitted_image(  an_image,xw=1024,yw=1024, background=(255,255,255)):
    iarray = np.array( an_image.convert("RGB") )
    nx = iarray.shape[0]
    ny = iarray.shape[1]
    inew = Image.new( "RGB", [xw,yw], (255,255,255))

    if nx > ny :
        simage = an_image.resize([ int((xw*ny)/nx),yw ])
        inew.paste( simage, [int((xw-int((xw*ny)/nx))/2),0])
    else:
        simage = an_image.resize([xw, int((yw*nx)/ny) ])
        inew.paste( simage, [0,int((yw-int((yw*nx)/ny))/2)])
    return inew

def main():
    if len( sys.argv) < 5:
      print("Could not open the input \nUsage to_quad ul ur ll lr outputname")
      sys.exit()

    if len( sys.argv) < 6:
        outputfilename = "output.jpg"
    else:
        outputfilename = sys.argv[5]

    inew = Image.new( "RGB", [2048,2048], (255,255,255))
    inew.paste( fitted_image(Image.open(sys.argv[1])), [0,0])
    inew.paste( fitted_image(Image.open(sys.argv[2])), [1024,0])
    inew.paste( fitted_image(Image.open(sys.argv[3])), [0,1024])
    inew.paste( fitted_image(Image.open(sys.argv[4])), [1024,1024])


    inew.save(outputfilename)


main()This is a short python program which uses PIL (Python imaging library or Pillow) to perform its magic. Cut and paste or email me for the source (Or even better sign up for my page and I’ll use that email).
It takes an input image and places it in a 2048×2048 square with a white background.
#!/usr/bin/python3
#
#  (c) 2023 Treadco
#
import numpy as np
import sys
from PIL import Image
def main():
    try:
      image = Image.open(sys.argv[1])
    except IndexError:
      print("Could not open the input \nUsage to_instagram inputfile outputname")
      sys.exit()
    if len( sys.argv) < 3:
        outputfilename = "output.jpg"
    else:
        outputfilename = sys.argv[2]
    iarray = np.array(image.convert("RGB"))
    nx = iarray.shape[0]
    ny = iarray.shape[1]
    inew = Image.new( "RGB", [2048,2048], (255,255,255))

    if nx > ny :
        simage = image.resize([ int((2048.*ny)/nx),2048 ])
        inew.paste( simage, [int((2048-int((2048.*ny)/nx))/2),0])
    else:
        simage = image.resize([2048, int((2048.*nx)/ny) ])
        inew.paste( simage, [0,int((2048-int((2048.*nx)/ny))/2)])
inew.save(outputfilename)
main()
I’ve pre-released a kickstarter to fund a photobook.
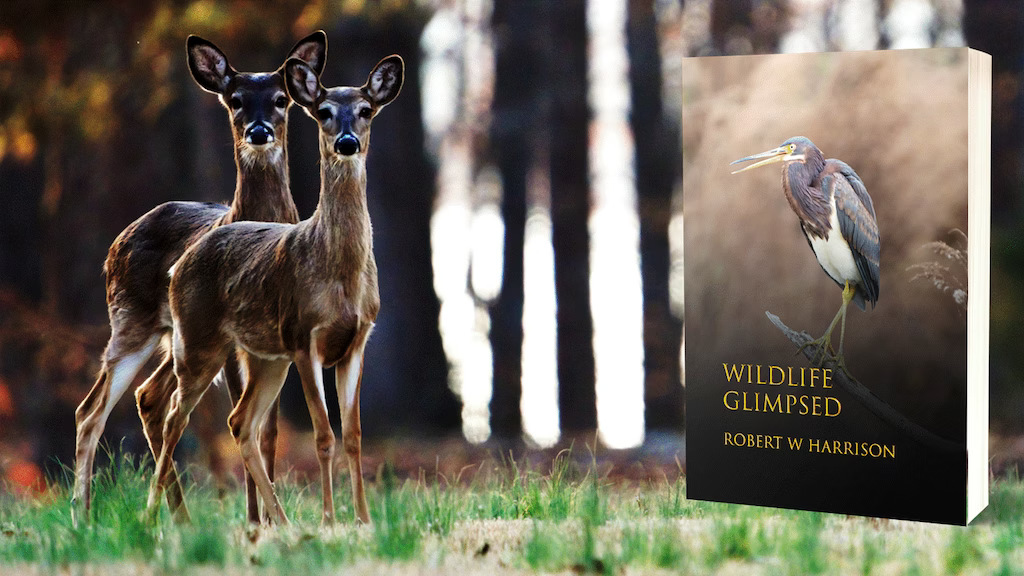
About 50 pages of photos and commentary – including where to see these animals and some of their natural history.
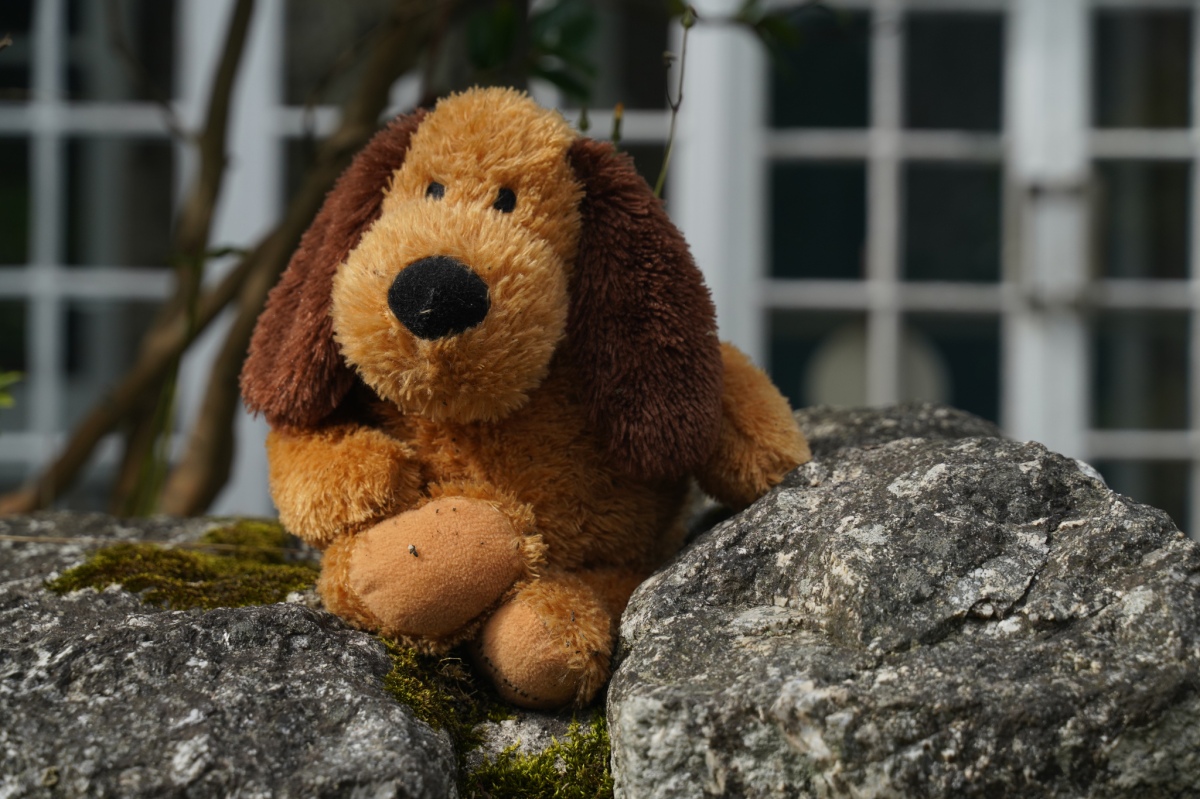
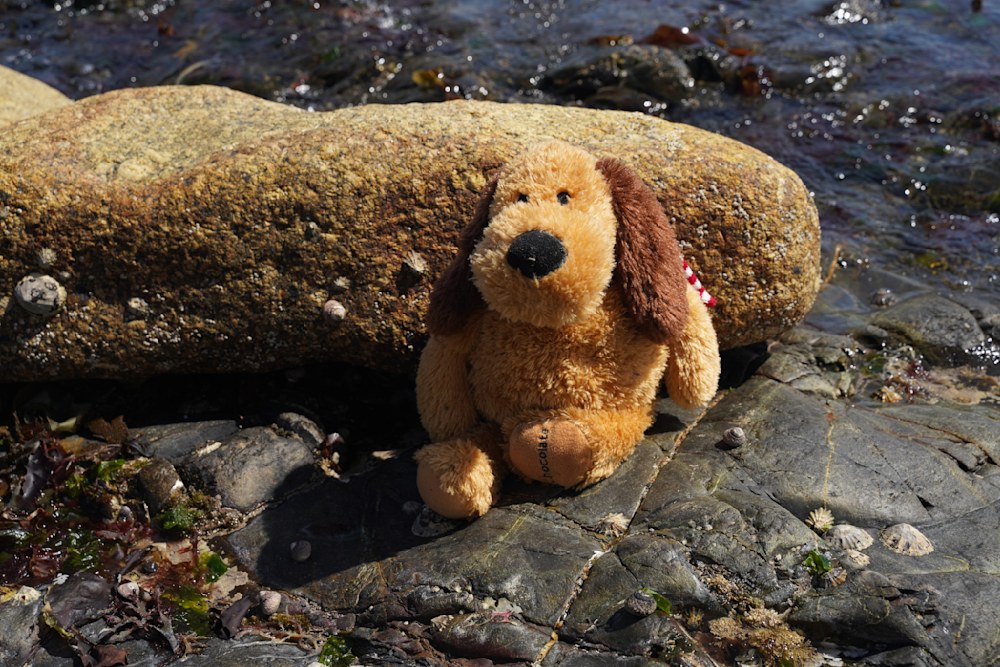
I was found lying on a country road, in Cornwall, on my face and in the mud.
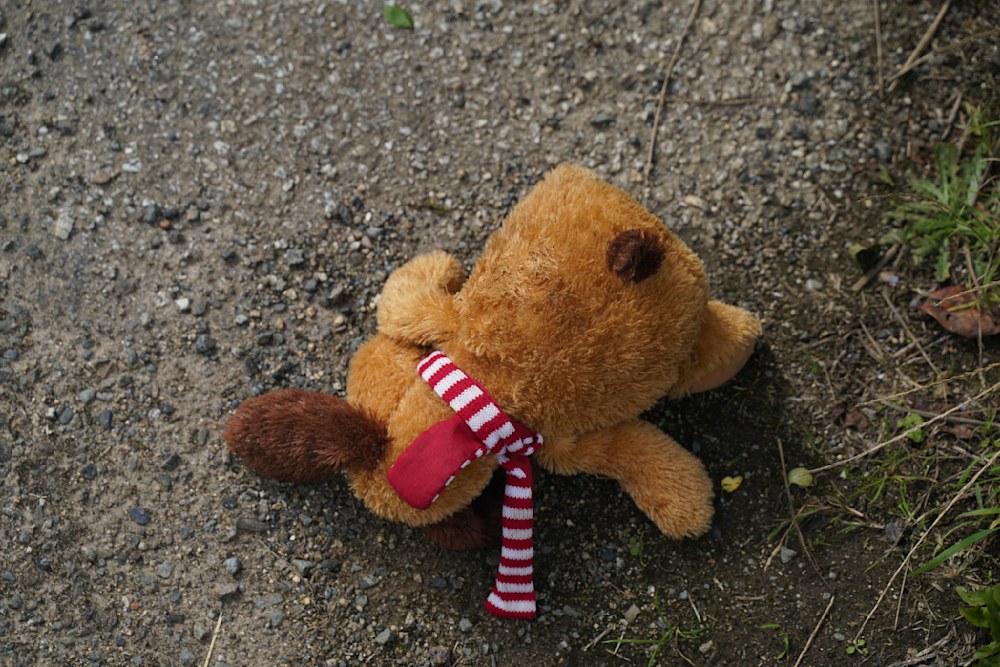
Not a very dignified pose, I’d say, certainly below the dignity of any proper animal.

So a kind stranger propped me on a wall in front of a house to see if anyone claimed me. They didn’t so he took me home, cleaned me up, and adopted me as his mascot.

I must have been too fierce for anyone else.
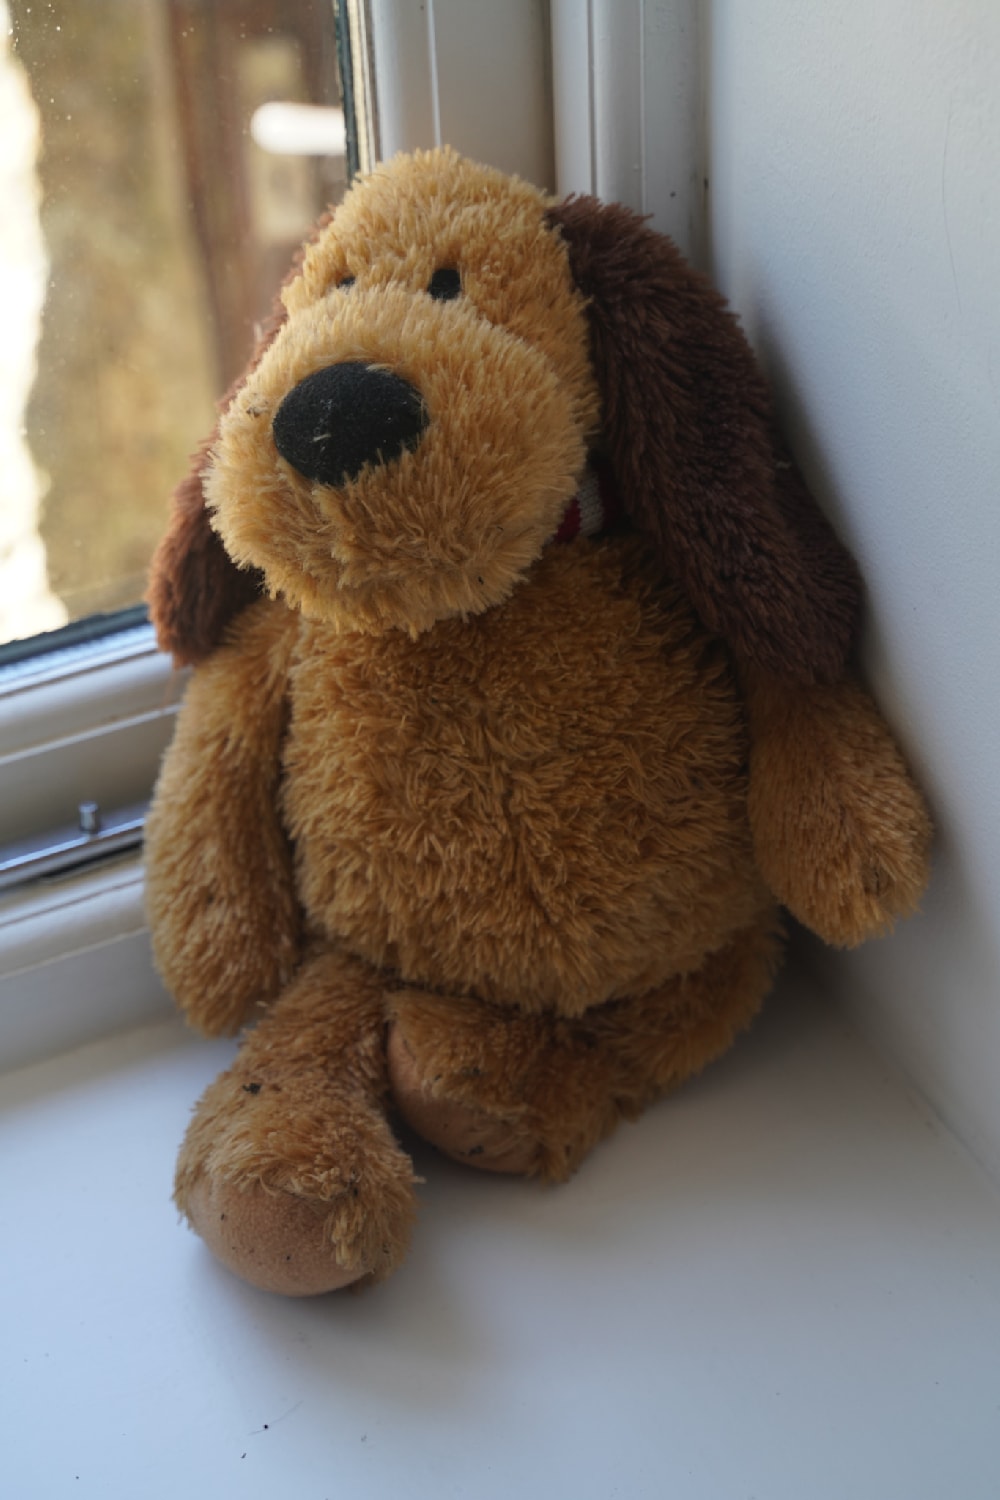
Here I am resting after my journey.
My new people took me on adventures like the South Coast footpath:
and the sea:
This is by a town called “Mazel” and spelled “Mousehole.” Isn’t that a funny name? I didn’t see any mice.
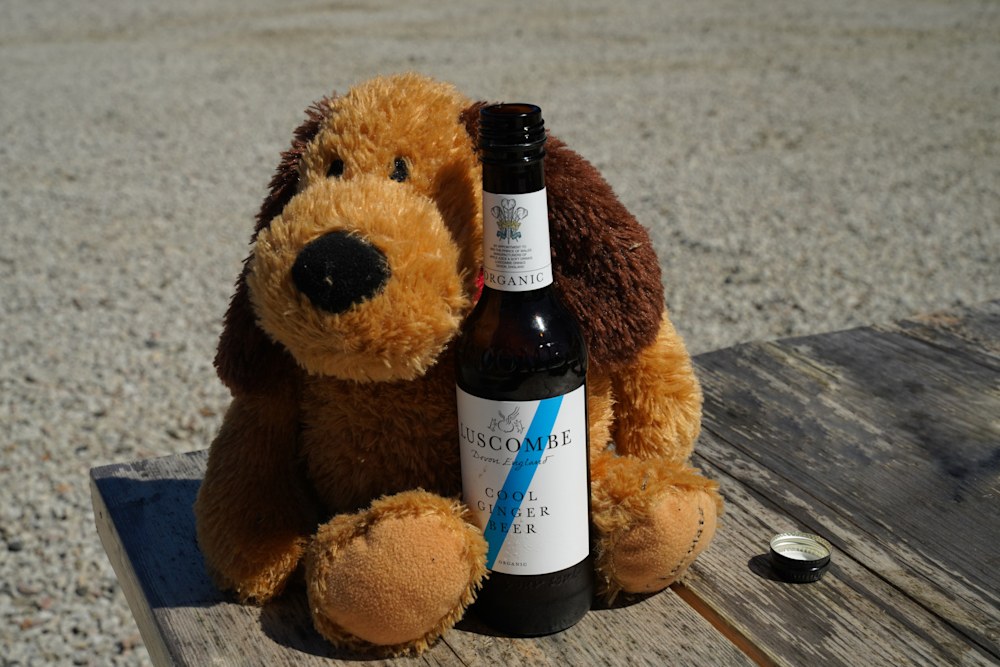
I had a cold drink on one hot afternoon. That ginger-ale tasted so good. It’s no wonder that it’s by appointment to the Prince of Wales.
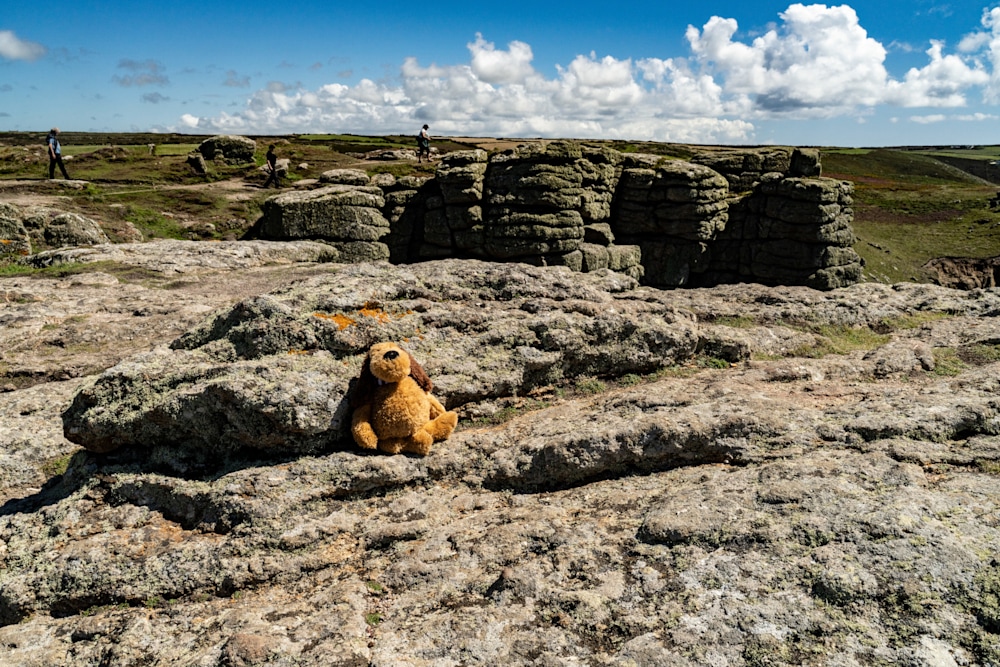
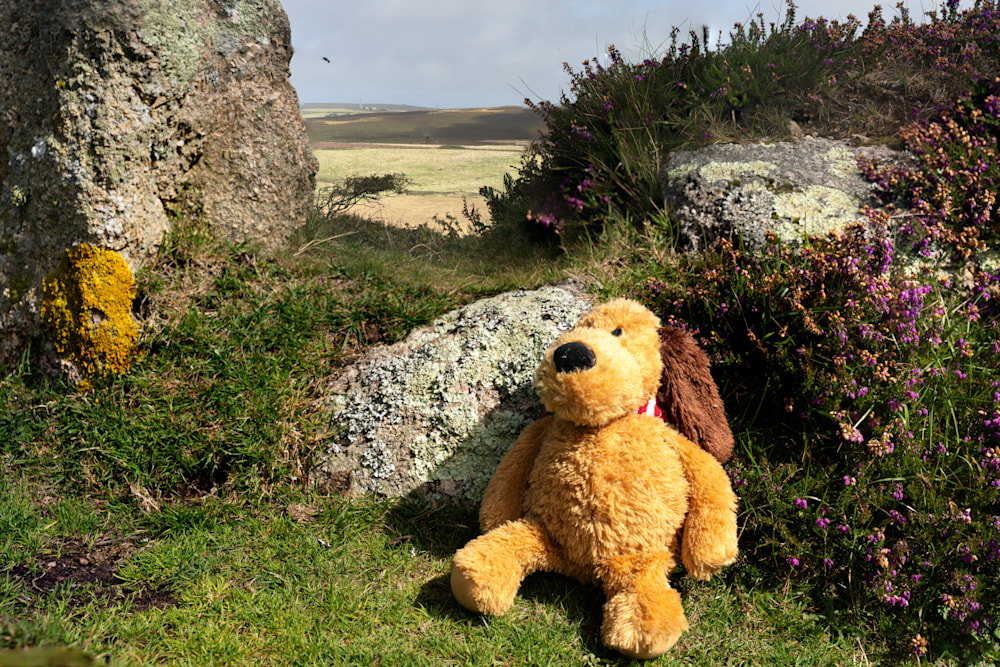
They also took me up into the hills – which I now know aren’t very high in Cornwall – but they seemed it at the time.
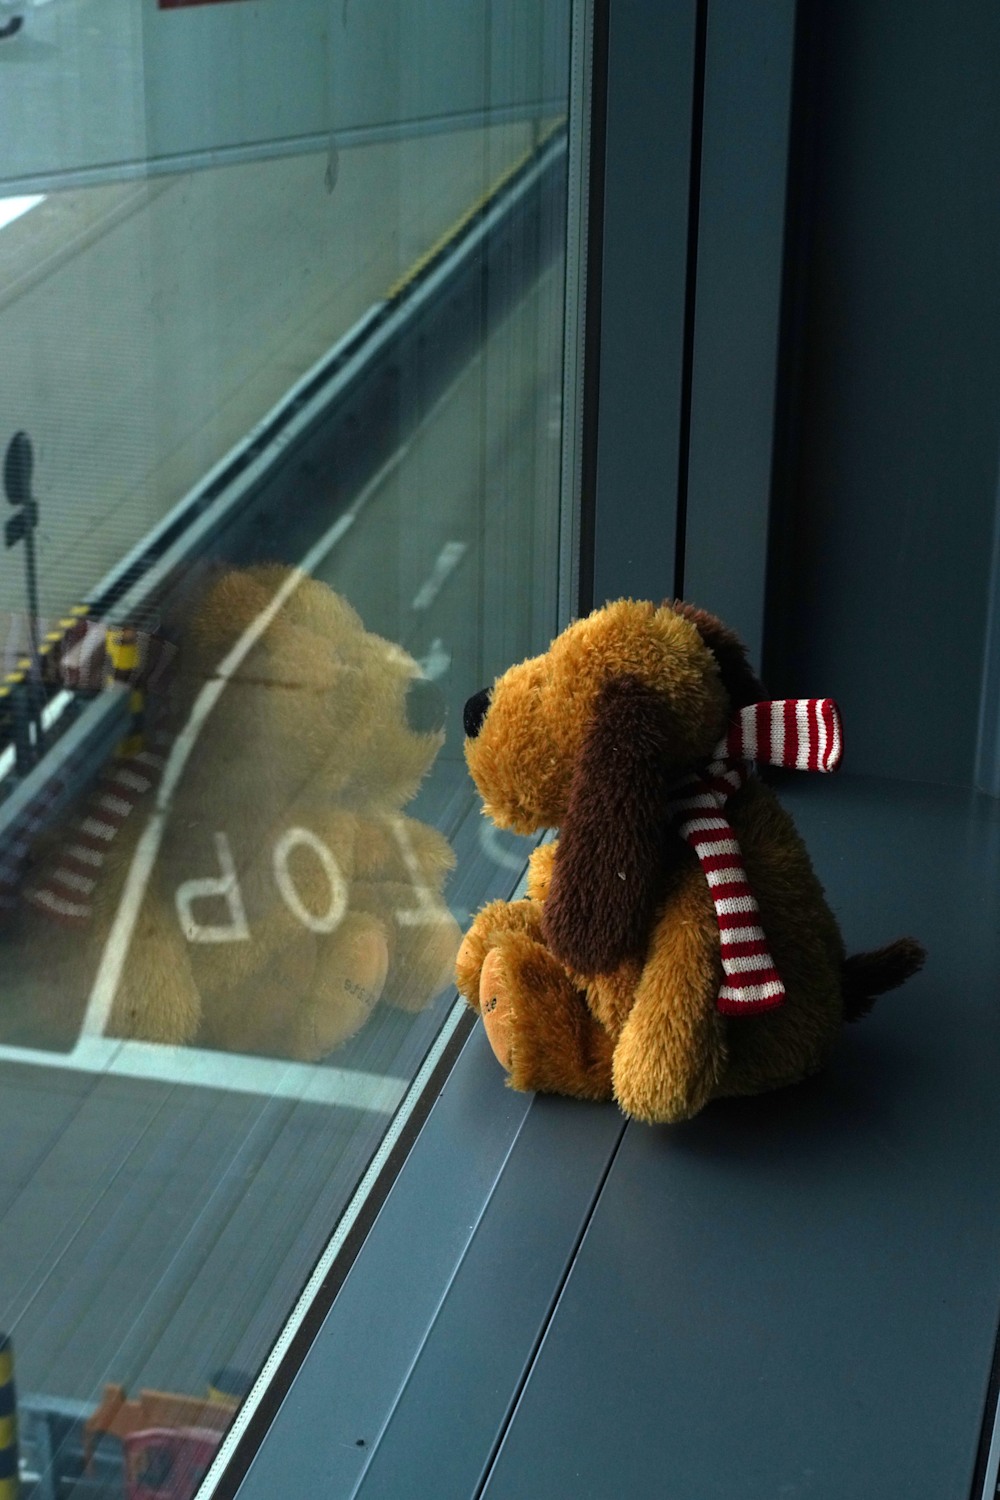
Finally they took me to the airport. Here I’m watching the activity on the runway.
and here I’m posing in front of the plane we flew on.
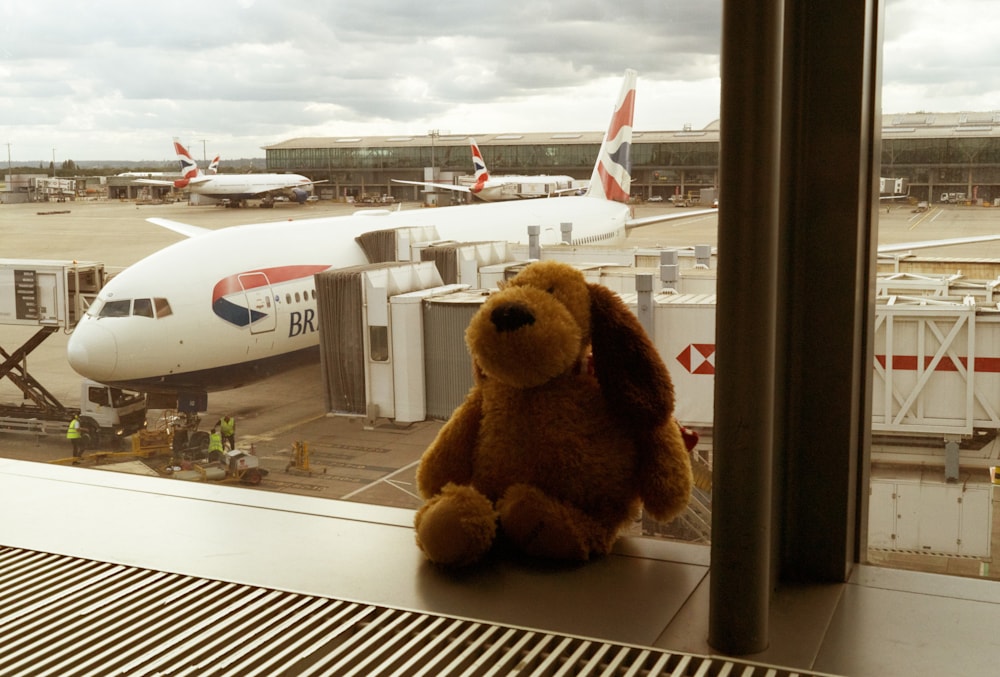
It was a good thing they didn’t stuff me in the luggage because that didn’t fly with us.
I’ll add more about my adventures in my new home later.
It can take a surprising amount of layers to get an image the way you want. This isn’t necessarily a particularly great image, but I still want to do my best. Going from:
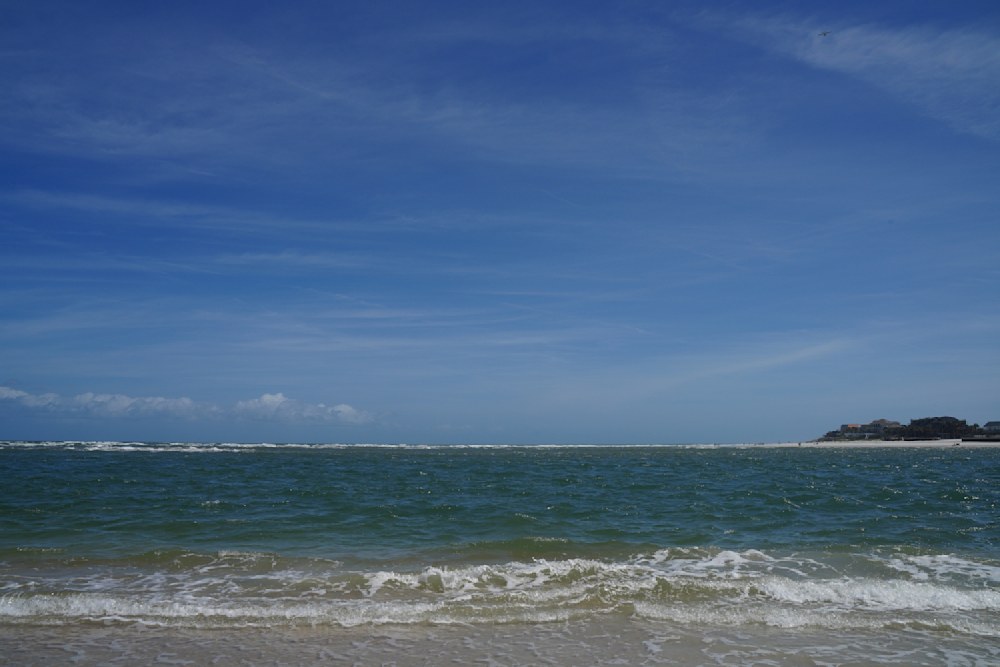
to
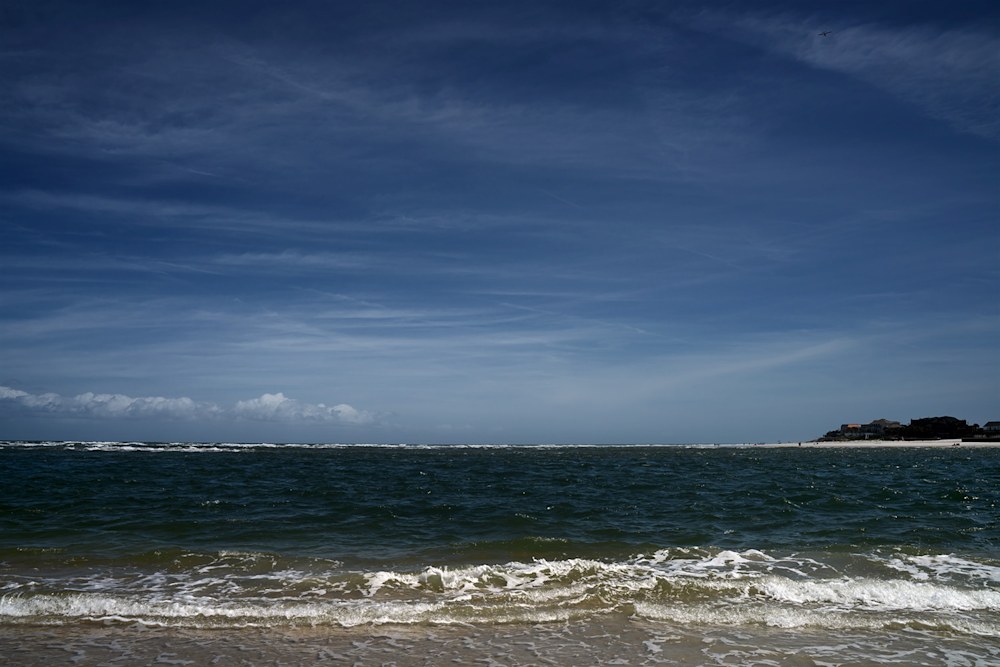 Takes a bit of work.
I divided it into four layers.
The cloulds:
The rest of the sky:
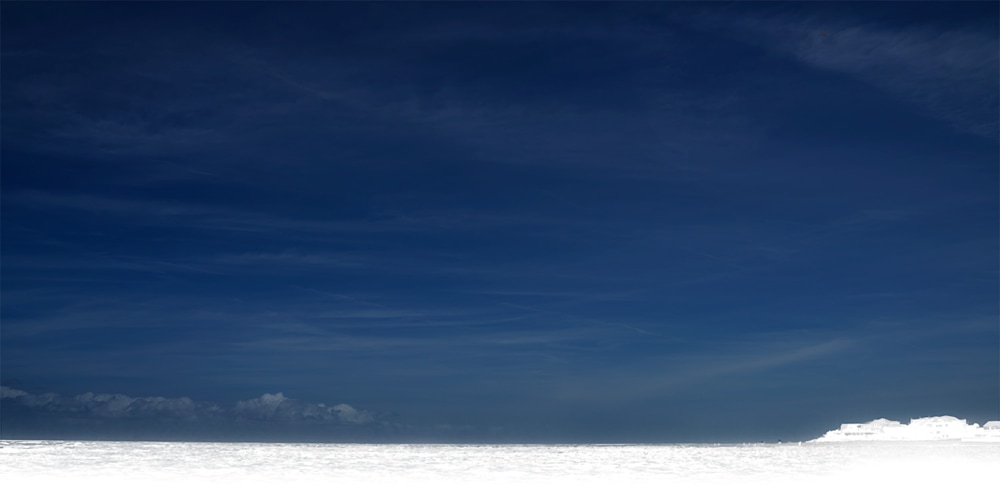 The water:
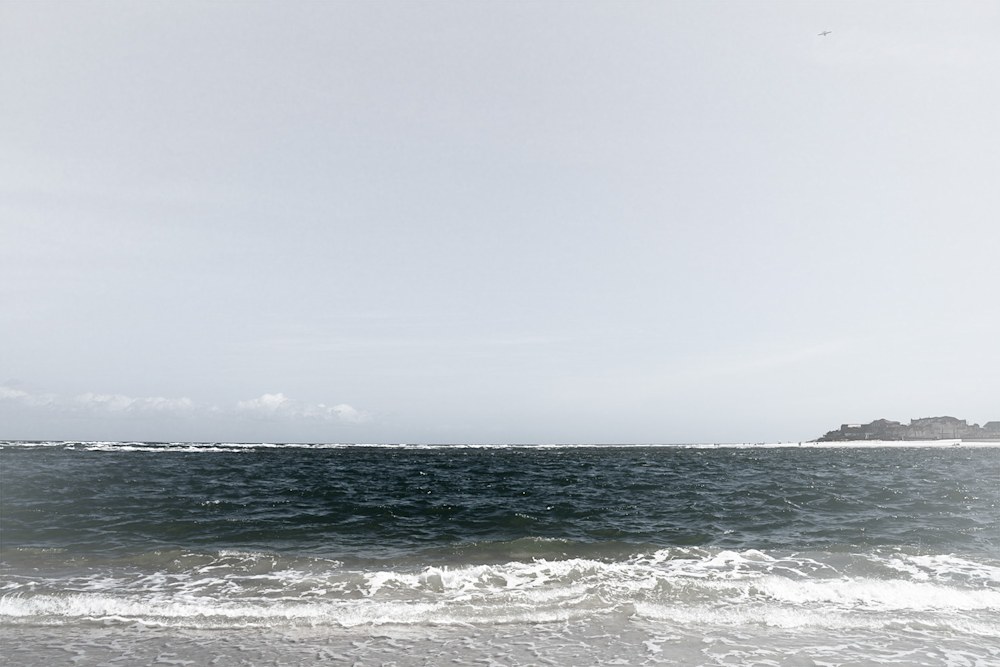
and a background layer to put it all together
I adjusted each layer to get a well blended mixture of the features.
For my work see playfulgallery.com (I changed the name because there are too dangled many Robert Harrisons and my website supports more than one artist.)
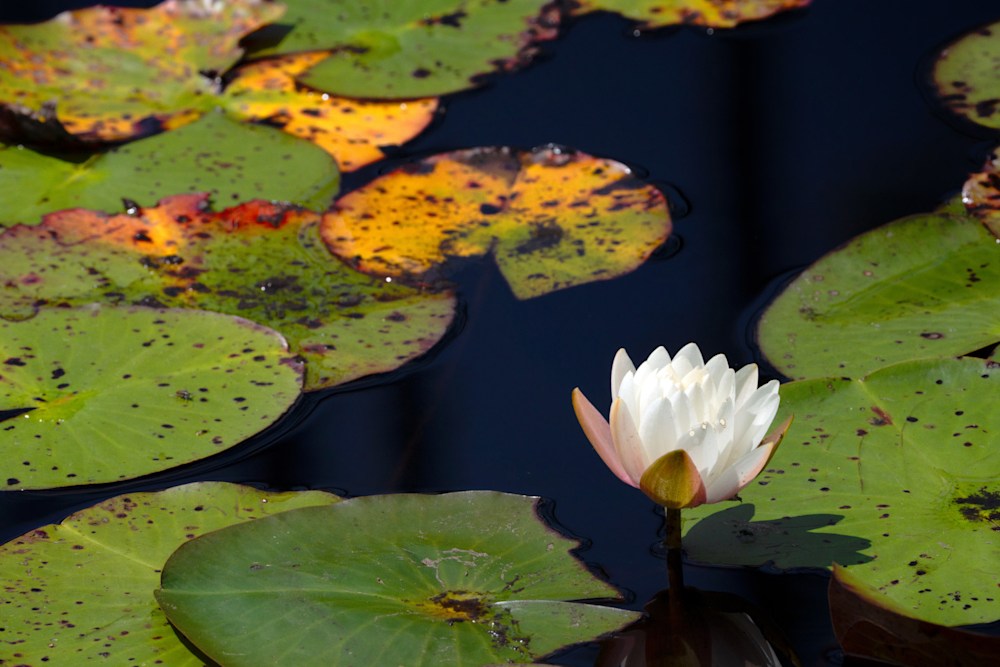
Aurora and I have been exploring the Georgia/Florida border; looking for inspiration. We stopped in the Okefenokee NWR – but with a dog in tow weren’t in a good way to go into the swamp. (You have to canoe and even though Finn is a big dog, he is “munchable” by Gator standards.)
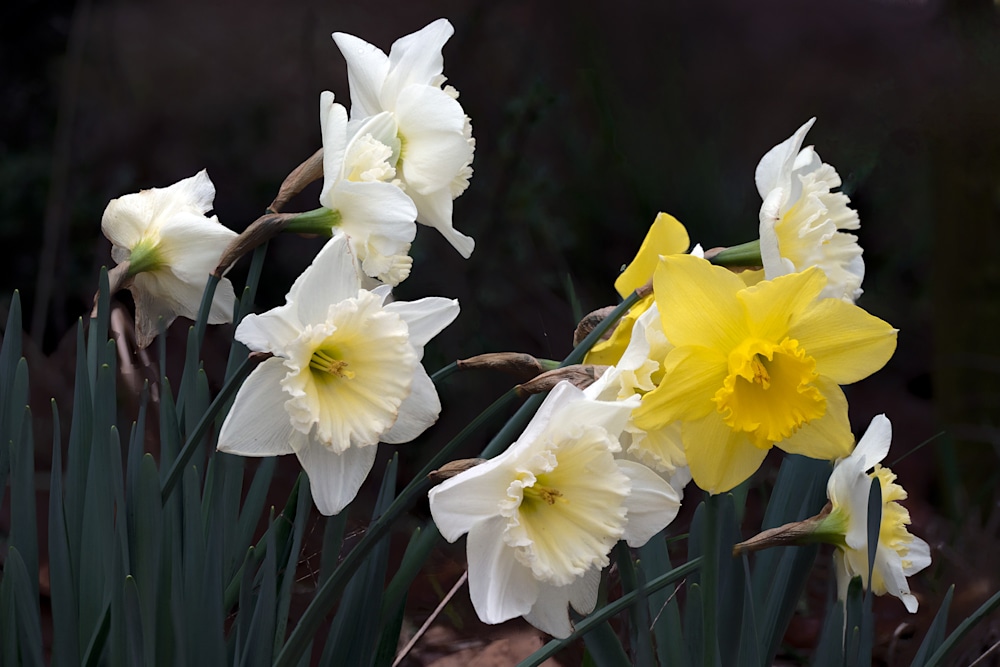
Nonetheless, there are opportunities to see flowers and ‘gators outside of the deep swamp.
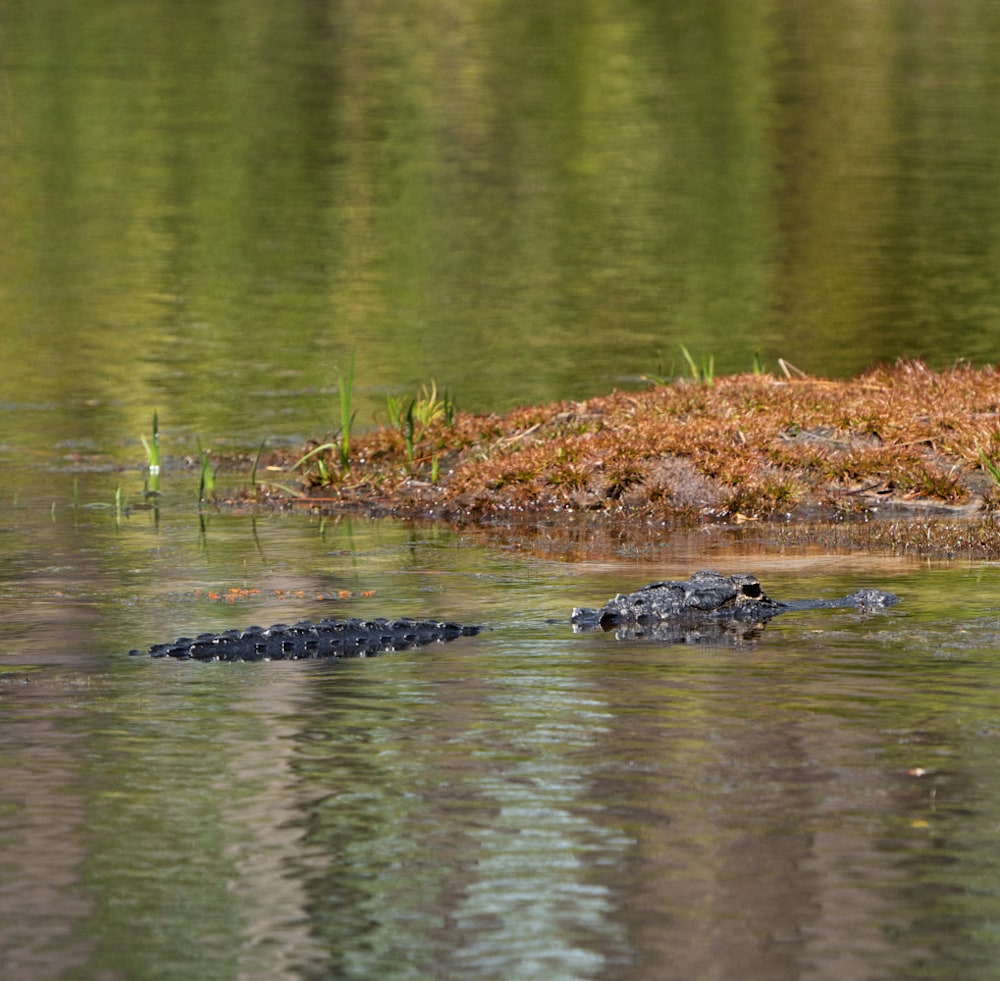
It wouldn’t be the Okefenokee without one of these.
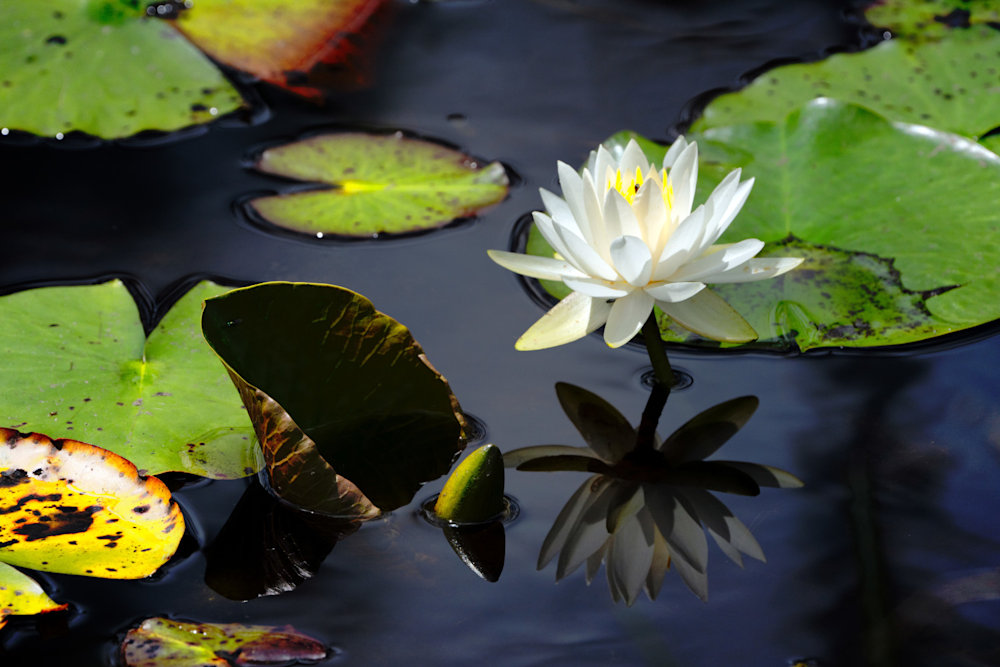
I’m somewhat proud of these photographs. One of my favorite tricks is to use a long lens (600mm) to get the image. You’d think a “normal” lens of 50mm or so would be the way to go, but that will distort the image. Basically, if you get close enough for the flower to be large, then you’re so close that the perspective is warped. And unlike star trek, warping isn’t a good thing, unless you’re doing it for a reason.
I processed the image in photoshop by dividing into layers and adjusting each layer individually. For these images, I used three layers: the flower, the black water, and the rest.
Not bad if I say so myself.
I’ve been playing with focus stacking because it can result in spectacular results.
The sharpness and three dimensionality of this image are a combination of using a telephoto lens for a flat perspective and focus stacking to generate the depth of focus.
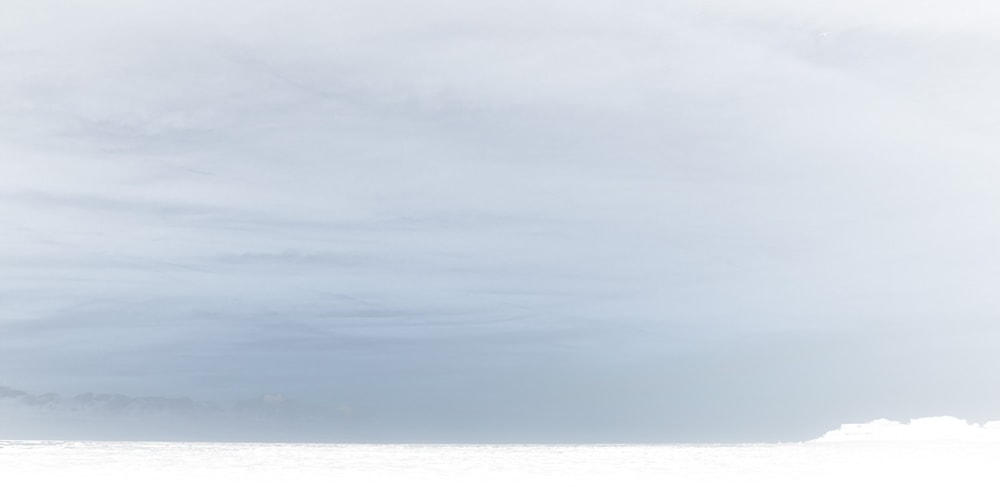
It can also fail spectacularly.
and
There are a couple of simple ways to fail:
It works surprisingly well when you get it right. I’m looking forward to trying this with landscape photography. The allure of a sharp, sharp foreground and background is hard to pass up.
For more of my work please see www.robertharrisonfineart.com